Japanese Knife Care & Maintenance: The Complete Guide
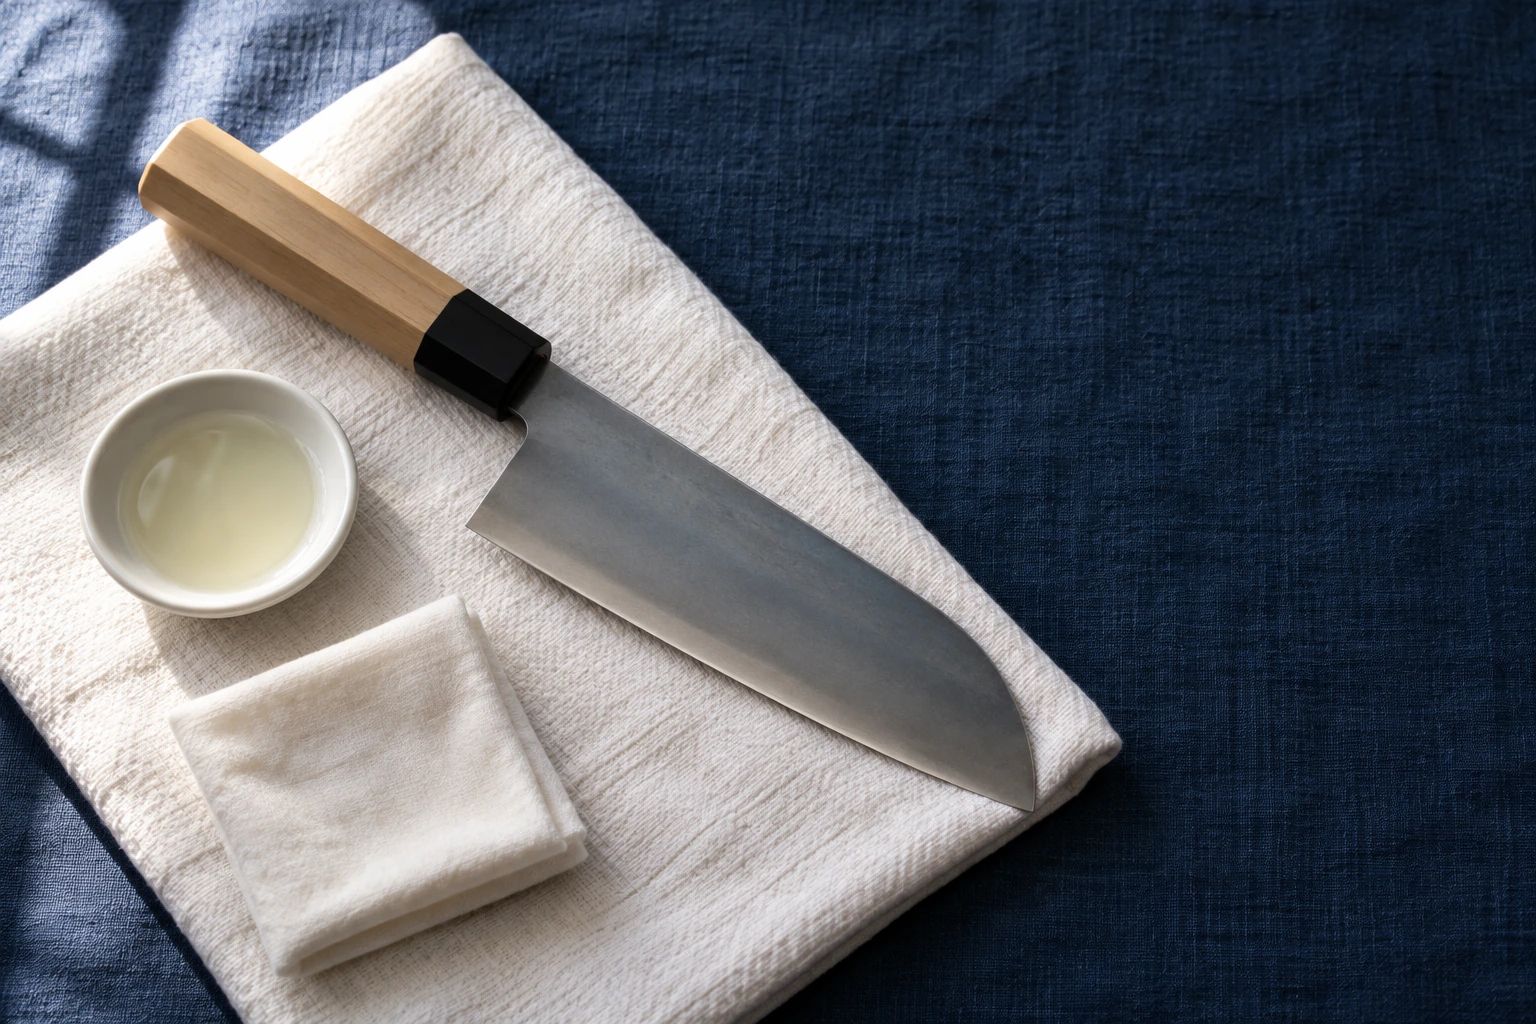
Table of Contents
A Japanese knife is an investment that can last generations — but only if you take care of it. The thin, hard blades that make Japanese knives so exceptional at cutting also make them more vulnerable to damage from improper handling. The good news is that proper care is simple once you build the right habits.
This guide covers everything you need to know to keep your Japanese knife in peak condition, from the daily routine that takes thirty seconds to seasonal maintenance and long-term storage.
Daily Care Routine
The single most important habit is this: wash and dry your knife immediately after every use. Not after you finish cooking. Not after dinner. Immediately after you set it down.
- Rinse the blade under warm running water to remove food particles
- Wash with a soft sponge and mild dish soap — scrub gently along the length of the blade, never across the edge
- Rinse thoroughly to remove all soap residue
- Dry completely with a clean, soft towel — wipe from spine to edge for safety, ensuring no moisture remains
- Store properly once fully dry (see storage section below)
This takes less than thirty seconds and prevents the vast majority of knife damage. Acidic foods (citrus, tomatoes, onions) are especially corrosive — if you have been cutting these, wash the blade as soon as you finish that ingredient, even if you are still cooking.
Never put a Japanese knife in the dishwasher. The combination of harsh detergents, high heat, steam, and contact with other items will ruin even stainless steel blades. Wooden handles crack and warp. Carbon steel blades develop deep rust. There is no exception to this rule.
Carbon Steel vs Stainless Steel Care
The type of steel in your knife determines how much attention it needs. Both require care, but the approach differs.
Carbon Steel (Shirogami / White Steel, Aogami / Blue Steel)
- Rusts easily — will show rust spots within minutes if left wet
- Reacts to acidic foods — cutting citrus, onions, or tomatoes causes rapid discoloration
- Develops a patina — the dark blue-grey layer that forms over time is not rust; it is a protective oxide layer that actually slows further corrosion
- Must be dried immediately — towel-dry within seconds of washing
- Needs oil for long-term storage — apply a thin layer of camellia oil (tsubaki oil) or food-safe mineral oil if the knife will not be used for more than a day or two
Stainless Steel (VG-10, AUS-10, SG2/R2)
- Corrosion-resistant but not corrosion-proof — can still develop rust spots and pitting if neglected
- More forgiving of brief moisture contact — you have a few minutes, not seconds, before damage occurs
- Does not develop a patina — stays bright without the visual changes of carbon steel
- Still should be dried promptly — do not rely on air drying
- No oil needed for regular use — only for storage lasting several weeks or more
| Care Task | Carbon Steel | Stainless Steel |
|---|---|---|
| Wash after use | Immediately | Promptly |
| Dry after washing | Immediately (within seconds) | Promptly (within minutes) |
| Oiling | For storage over 1-2 days | For storage over several weeks |
| Rust risk | High | Low |
| Patina | Yes (desirable) | No |
| Acidic food reaction | Rapid discoloration | Minimal |
Rust Prevention & Removal
Preventing Rust
Prevention is always easier than removal. Follow these principles:
- Dry immediately after washing — the number one rule
- Never soak in water — not even for a moment in the sink
- Wipe during use — keep a damp towel nearby and wipe the blade between ingredients, especially when cutting acidic foods
- Control humidity — store knives in a dry environment, not in a humid drawer near the dishwasher or sink
- Apply oil for storage — camellia oil (tsubaki oil) is traditional and ideal; food-safe mineral oil also works
Removing Rust
If rust appears, act quickly. Surface rust is easy to remove; deep pitting is permanent.
Baking Soda Method (Light Rust)
- Make a thick paste of baking soda and water
- Apply the paste to the rusty area
- Let it sit for 5 minutes
- Gently scrub with a soft sponge in the direction of the blade finish (not in circles)
- Rinse and dry completely
Rust Eraser Method (Moderate Rust)
A sabitoru (rust eraser) is a specialized rubber block infused with abrasive particles, designed specifically for removing rust from kitchen knives. They come in coarse and fine grits.
- Wet both the blade and the rust eraser
- Rub the eraser along the blade in the direction of the existing finish
- Start with the coarse eraser if rust is stubborn, then finish with the fine eraser
- Rinse and dry thoroughly
Rust erasers are available at Japanese kitchen stores and online for a few dollars. They are an essential tool for any carbon steel knife owner.
Building a Patina on Carbon Steel
A patina is a thin oxide layer that naturally forms on carbon steel when it reacts with food and moisture. Far from being damage, a well-developed patina is your knife's best natural defense against rust. It creates a barrier between the raw steel and the environment.
You can let a patina develop naturally over weeks of regular use, or you can force one in minutes.
Forced Patina with Hot Vinegar
- Clean the blade thoroughly and dry it completely
- Heat white vinegar until steaming but not boiling
- Dip a paper towel in the hot vinegar and wrap it around the blade
- Leave for 10-15 minutes — the blade will darken visibly
- Remove the towel, rinse with water, and dry immediately
- Apply a thin coat of camellia oil
Forced Patina with Mustard
- Clean and dry the blade
- Apply yellow mustard in patterns or a thin even layer across the blade
- Leave for 20-30 minutes
- Wash off thoroughly with soap and water
- Dry immediately and oil the blade
The mustard method creates distinctive patterns, while vinegar produces a more uniform darkening. Both are purely cosmetic choices — the protective benefit is the same. Over time, the forced patina blends with natural patina from regular use.
Proper Storage
How you store your knife matters almost as much as how you clean it. The goal is to protect the edge from contact with hard surfaces and keep the blade in a dry environment.
Recommended Storage Methods
| Method | Pros | Cons |
|---|---|---|
| Magnetic knife strip | Keeps blades separated, easy access, good airflow for drying | Blades are exposed; pull off carefully to avoid edge contact |
| Saya (wooden sheath) | Traditional Japanese protection, ideal for drawer storage, individual protection | Moisture can be trapped if the knife is not fully dry; need one per knife |
| Knife block (horizontal) | Protects edges, organized storage | Vertical blocks let the blade rest on the edge (bad); horizontal slots are better |
| Knife roll / bag | Portable, good for professionals | Not ideal for daily home use |
Never store knives loose in a drawer. The blade will knock against other utensils, dulling and chipping the edge. It is also a safety hazard when reaching into the drawer. If drawer storage is your only option, use a saya, blade guard, or in-drawer knife block.
When using a magnetic strip, always place and remove the knife spine-first. Dragging the edge across the magnet will dull it.
Cutting Board Selection
Your cutting board directly affects how long your knife stays sharp. The wrong surface can dull a freshly sharpened blade in a single session.
Best Cutting Boards for Japanese Knives
- End-grain wood — hinoki (Japanese cypress), maple, walnut, or cherry. End-grain boards let the blade slip between the wood fibers instead of hitting a hard surface. They are self-healing and gentle on edges.
- Soft rubber — brands like Hasegawa and Asahi make professional-grade rubber boards used in Japanese restaurants. They are hygienic, easy to sanitize, gentle on edges, and will not dull your knife.
Cutting Boards to Avoid
- Glass — extremely hard, will dull any knife instantly
- Ceramic / porcelain — same problem as glass
- Marble / granite / stone — destroys edges on contact
- Bamboo — despite being marketed as knife-friendly, bamboo is harder than most woods and contains silica, which dulls blades faster than hardwood
- Hard plastic (thin) — cheap thin plastic boards flex, causing uneven cuts, and the hard surface dulls knives faster than wood or rubber
Honing vs Sharpening
These are two different processes that are often confused. Understanding the difference saves you time and extends the life of your knife.
Honing (Maintenance — Weekly)
Honing realigns the edge without removing material. During use, the thin cutting edge bends microscopically to one side. Honing straightens it back.
- Use a ceramic honing rod (never a grooved steel rod — it is too aggressive for hard Japanese steel and can cause micro-chips)
- Run each side of the blade along the rod 3-5 times at the same angle as the bevel (typically 12-15 degrees)
- Do this every 1-2 weeks or whenever cutting feels slightly less effortless
Sharpening (Restoration — Every 2-4 Months)
Sharpening removes steel to create a new edge. This is needed when honing alone no longer restores performance.
- Use a whetstone — start with 1000 grit for regular sharpening, finish with 3000-6000 grit for refinement
- Maintain a consistent 12-15 degree angle per side (for double-bevel Japanese knives)
- Full sharpening every 2-4 months for home use, every 1-2 weeks for professionals
| Aspect | Honing | Sharpening |
|---|---|---|
| Purpose | Realigns the existing edge | Creates a new edge |
| Material removal | None to minimal | Removes steel |
| Tool | Ceramic rod | Whetstone |
| Frequency | Weekly | Every 2-4 months |
| Skill level | Beginner | Intermediate |
| Time | 30 seconds | 15-20 minutes |
When to Seek Professional Sharpening
While learning to sharpen with a whetstone is worthwhile, there are situations where a professional sharpener is the better choice:
- Chips in the edge — repairing a chip larger than 1-2mm requires significant skill and a coarse stone. A professional can re-profile the edge without removing excessive material.
- Thinning (shinogi line adjustment) — over many sharpenings, the blade thickens behind the edge. Professional thinning restores cutting performance.
- Single-bevel knives — deba, yanagiba, and usuba knives require specialized technique to maintain their asymmetric geometry.
- Re-profiling — changing the blade angle or fixing a severely damaged edge.
- Your first time — having a professional sharpen your knife once gives you a perfect baseline edge to maintain at home.
Look for a sharpener who specializes in Japanese knives. Many general sharpening services use machines that can overheat and ruin the temper of hard Japanese steel. A skilled hand sharpener using whetstones is ideal.
Common Mistakes That Damage Japanese Knives
- Using the dishwasher — damages the handle, dulls the edge, and causes rust
- Cutting on glass, ceramic, or stone surfaces — instantly dulls the edge
- Leaving the knife wet — even ten minutes of moisture causes rust on carbon steel
- Twisting or prying with the blade — Japanese blades are hard but brittle; lateral force chips or snaps them
- Cutting frozen food or bones — use a deba (thick-spined knife) for bones, and partially thaw frozen food before cutting
- Honing with a steel rod — grooved steel rods chip hard Japanese steel (HRC 60+); use a smooth ceramic rod instead
- Storing loose in a drawer — the edge hits other objects, creating dull spots and chips
- Using the wrong cutting board — glass and stone destroy edges in seconds
- Scraping food with the edge — use the spine of the knife to push food off the cutting board, never the sharp edge
- Neglecting sharpening until the knife is very dull — regular maintenance with a honing rod and periodic whetstone sessions keeps the knife sharp with minimal effort; letting it go completely dull requires aggressive restoration that removes more material and shortens the knife's life
Seasonal Maintenance Tips
Summer (High Humidity)
- Be extra vigilant about drying — humidity accelerates rust on carbon steel
- Store knives with a silica gel packet in the drawer or knife bag to absorb moisture
- Inspect blades weekly for early signs of rust
- Wipe carbon steel blades with a thin layer of camellia oil after each use
Winter (Dry Air / Heating)
- Dry air can crack wooden handles — apply a small amount of food-safe mineral oil to the handle occasionally
- Less humidity means less rust risk, but heated kitchens with cooking steam create microclimates of moisture
Long-Term Storage
If you will not use a knife for several weeks or longer:
- Clean and dry the blade thoroughly
- Apply a generous coat of camellia oil or food-safe mineral oil to the entire blade
- Wrap the blade in acid-free paper or a soft cloth
- Place in a saya or knife guard
- Store in a dry location away from temperature extremes
- Check monthly and reapply oil if needed
Never store a knife in a leather sheath for long periods — leather retains moisture and can cause rust and corrosion.