How to Sharpen a Japanese Knife: Step-by-Step Whetstone Guide (Beginner-Friendly)
QUICK ANSWER
Sharpen at 15° per side on a #1000 then #3000 whetstone, 10 strokes per side, soak the stone first.
Angle
15° per side
Stone grit
#1000 + #3000
Strokes
10 per side
Soak time
5-10 min
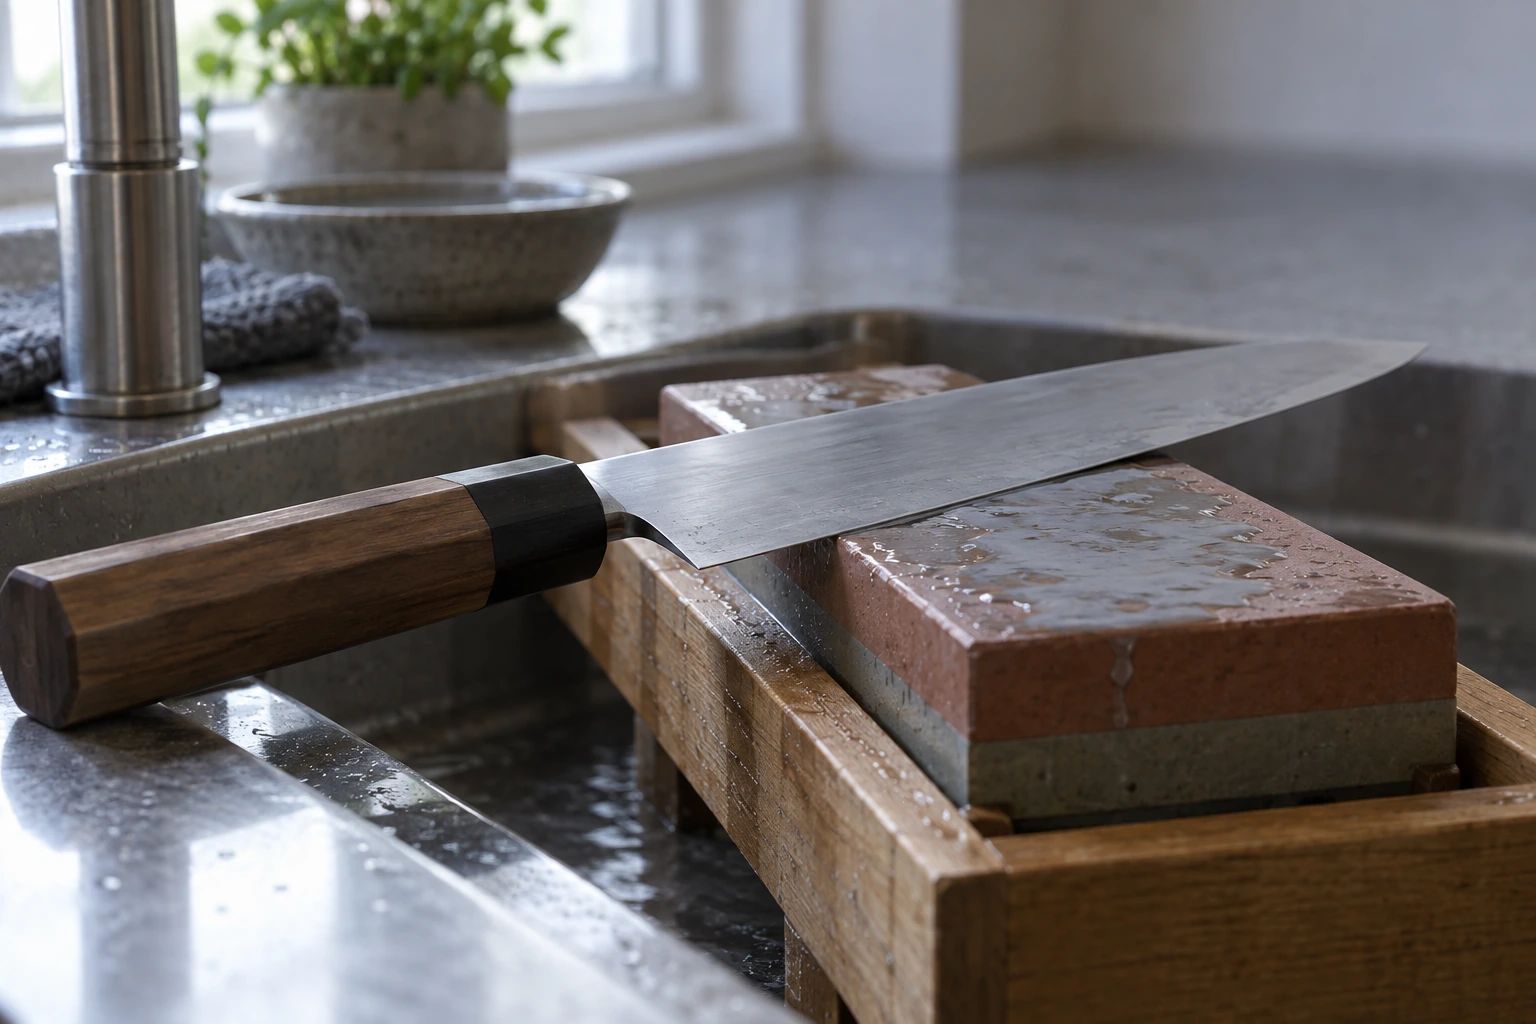
Table of Contents
TL;DR — Read this first
- Tool: Combination whetstone, #1000 / #3000. Brand: King, Shapton, or Naniwa.
- Angle: 15-17 degrees per side. Approximately the height of two stacked ¥10 coins (~4mm) above the stone.
- Sides: Both sides equally (double-bevel knives — gyuto, santoku, nakiri, petty). Single-bevel knives (yanagiba, deba, usuba) use different technique — see our single vs double-bevel guide.
- Procedure: Soak stone → first side until burr → second side until burr → alternate light strokes to remove burr → polish on #3000 → strop or wipe → test.
- Time: 45-60 minutes first time, 20-30 minutes once practiced.
- Frequency: Full sharpening every 3-6 months for home use.
If you only remember one thing: the angle matters more than anything else. A consistent angle at the wrong number is better than an inconsistent angle at the right number. Practice angle consistency before worrying about anything else.
Why a whetstone, not a pull-through
Japanese knives are hardened to HRC 60-65 — significantly harder than European knives (HRC 54-58). This hardness is what gives Japanese knives their famous sharpness, but it also means the edge is more brittle. Pull-through sharpeners (the V-shaped ones with two carbide wheels) work fine on softer Western knives but chip Japanese steel in the same way that a hammer chips glass.
A whetstone, by contrast, removes metal gradually. The grit numbers correspond to the size of abrasive particles — a #1000 stone has particles roughly 15 microns across, #3000 around 5 microns, #8000 around 2 microns. Lower numbers cut faster but leave a rougher edge; higher numbers polish but cut slowly. A two-step #1000 → #3000 sequence is the universal home sharpening approach.
The mental model: the #1000 creates the new edge geometry, the #3000 polishes it to the final sharpness. Skipping the #3000 leaves a slightly rough edge that catches on tomato skin. Skipping the #1000 means the #3000 never reaches the actual edge — you polish the old edge geometry rather than creating new sharpness.
What you need
- Combination whetstone, #1000 / #3000. $40-$70. King (most traditional), Shapton glass (most beginner-friendly, splash-and-go), Naniwa Chosera (premium).
- A stable, non-slip base. Most stones come with a rubber base, or you can use a damp kitchen towel rolled at both ends. The stone must not move while you sharpen.
- A flat surface. Kitchen counter or cutting board. Avoid sinks (sloped surfaces) and the floor.
- Clean water in a small bowl. Tap water is fine. Refill as the stone surface dries during use.
- A clean kitchen towel. For wiping the blade between stones and at the end.
- A flattening stone (recommended). Used to keep your whetstone flat. After 10-15 sharpening sessions, your stone will develop a slight dish that compromises your angle. A flattening stone or diamond plate restores it. $20-$60.
- (Optional) Angle guide clamp. $15-$30. Helps maintain consistent angle if you struggle. Some pros consider it a crutch; most beginners find it genuinely useful for the first 5 sessions.
- (Optional) Sharpie marker. $2. Used for the marker test to check angle consistency.
Total minimum kit cost: $40-$90. Lifetime cost amortized across decades of knife care.
Setting the angle — the most important step
Japanese double-bevel knives are sharpened at 15-17 degrees per side (vs. 20 degrees for Western knives). This narrow angle is what gives Japanese knives their cutting performance, but it requires more care to maintain — the margin for error is smaller.
Three reliable ways to find 15-17 degrees:
- The coin method. Place two ¥10 coins (or two US dimes, or two euro 10-cent coins) stacked under the spine of the blade. The blade itself rests on the whetstone surface. This creates approximately 15 degrees. For a slightly steeper 17-degree angle (good for thicker blades), use three coins.
- The thumb-knuckle method. Place the blade flat on the stone, then tilt the spine up until your thumb fits under the spine with the second knuckle of your thumb touching the stone. This is approximately 15 degrees for most hand sizes.
- The angle guide clamp. Various brands sell clip-on guides that set the angle for you. Easiest for beginners, slight learning curve to find the right model for your blade height.
The most important thing about angle is not finding the perfect number — it is maintaining the same angle throughout the entire stroke and across all strokes. A consistent 18-degree angle is far better than an inconsistent 15-degree angle. Use the marker test (next section) to check yourself.
The 17-step procedure
This is the full sequence. Read through it once before starting.
- Soak the stone. If your stone requires soaking (check the box), submerge it in water for 10-15 minutes, or until air bubbles stop escaping. Splash-and-go stones (Shapton glass, diamond) skip this step.
- Set up your station. Place the stone on a non-slip base on a flat surface at counter height. The #1000 side faces up first. Stone should be perpendicular to your body, with the long axis pointing away from you.
- Wet the stone surface. Splash water generously on top. Keep your water bowl within reach for refreshing.
- Inspect the blade. Identify the cutting edge, the spine, the heel, and the tip. Note which side has more bevel (most Japanese knives are 50/50 symmetric, but some are 70/30 asymmetric — that affects pressure distribution but not technique).
- Mark the bevel with a Sharpie (optional but recommended). Color the bevel of the side you will start with. You will use this to check angle consistency after a few strokes.
- Set the angle. Place the heel of the blade on the far end of the stone. Use the coin method or thumb method to set 15-17 degrees. The cutting edge should be facing you (you will pull the blade toward yourself, or push away — both directions work; pick one for the whole side).
- First stroke. With light pressure (think: about as much pressure as cutting a ripe tomato), draw the blade across the stone in one smooth motion. Keep the angle constant. The stroke should cover the full length of the edge: as you slide, walk the blade so that the heel-mid-tip all touch the stone.
- Check the marker. After 3-4 strokes, look at the bevel. The Sharpie should be removed evenly along the full length. If it remains at the tip or the heel, your angle was inconsistent — adjust and try again.
- Continue strokes. Once your angle is consistent, do 10-20 strokes per area (heel section, mid section, tip section). Use light pressure on the pull stroke; lift the blade slightly on the return stroke (or keep contact with even lighter pressure — both work).
- Check for the burr. After 15-30 strokes total on this side, run your thumb gently from spine to edge on the opposite side of the blade. Feel for a tiny ridge or roughness right at the edge — that is the burr. If you do not feel it, keep sharpening on the first side.
- Flip the knife and sharpen the second side. Repeat steps 6-10 on the other side. Aim for roughly the same number of strokes on each side. By the end, you should feel a burr on the first side now (it will have switched).
- Remove the burr — light alternating strokes. With very light pressure (just the weight of the blade), do single strokes alternating sides: one stroke this side, one stroke that side, repeat 5-10 times. This breaks off the burr.
- Wipe the blade. Use a clean kitchen towel to remove the slurry. Inspect — the edge should look clean and uniform.
- Switch to the #3000 side. Flip the stone. Re-wet the new surface.
- Polish — first side. Same angle as before, much lighter pressure (just the weight of the blade). Do 10-15 strokes. The goal is to refine the rough edge created by the #1000.
- Polish — second side. Flip the knife, 10-15 strokes on the second side with the same light pressure.
- Final alternating strokes. 3-5 alternating very-light strokes on each side to remove any final burr. Wipe the blade clean.
You are done. The full procedure takes 30-60 minutes the first time, 20 minutes once practiced.
How to test the edge
Three tests in order of difficulty:
- The paper test. Hold a sheet of printer paper vertically with one hand. With the other, slice down through the paper using only the weight of the blade — no pressure. A sharp Japanese knife should slice through cleanly, producing a clean cut edge. If the paper tears or catches, the edge is not sharp enough — return to the #1000 stone.
- The tomato test. Place a ripe tomato on the cutting board. The blade should slice through the skin with only its own weight — no pressure. If you have to press, the edge has rolled or is dull.
- The fingernail test (advanced, careful). Place the edge of the blade against your thumbnail at a shallow angle. If the edge bites into the nail and stays put, it is sharp. If it slides off, it is dull. Do not press — let the edge tell you. Keep your fingers away from the cutting direction.
If the paper test passes, your knife is sharper than most home cooks ever experience. Congratulations.
Common beginner mistakes
- Too much pressure. Beginners almost always press too hard. The stone does the work — your job is to maintain the angle and provide light, steady motion. Heavy pressure does not sharpen faster; it just rounds the edge.
- Inconsistent angle. Lifting the spine higher as you move toward the tip is the most common error. Use the marker test religiously for your first 5 sessions.
- Skipping the burr check. If you do not raise a burr, you have not yet reached the edge. Going straight to the polishing stone wastes time.
- Sharpening only one section. Many beginners over-sharpen the middle of the blade and under-sharpen the heel and tip. Consciously walk the blade across the stone to cover the full length.
- Stone is not flat. A dished stone makes consistent angle impossible. After 10-15 sessions, flatten with a diamond plate or flattening stone.
- Wrong stone for the knife. ZDP-189 and other ultra-hard steels need diamond stones or ceramic. Don't try to sharpen a HRC 67 ZDP-189 blade on a soft King #1000 — you will spend hours and get nowhere. Most knives (HRC 60-63) work fine on standard stones.
- Trying to fix a chip with sharpening alone. If you have chipped the edge, you need to grind down past the chip, which takes a lower-grit stone (#400 or #800) and significant time. For deep chips, send the knife to a professional.
How often to sharpen
| Use intensity | Full sharpen (#1000+#3000) | Quick refresh (#3000 only) |
|---|---|---|
| Light home use (3-4x per week) | Every 6 months | Every 6-8 weeks |
| Daily home cook | Every 3-4 months | Every 3-4 weeks |
| Heavy home use (cook for family of 4-6 daily) | Every 2-3 months | Every 2-3 weeks |
| Restaurant line cook | Every 4-6 weeks | Weekly |
| Sushi or vegetable prep specialty | Every 2-3 weeks | Daily touch-up |
In practice, the knife tells you. When you feel yourself pressing harder than usual, or the tomato test fails, it is time. Setting calendar reminders is fine but the better habit is to trust your hand.